
Depth2Img is a fantastic mode that takes an RGB color pass + a Depth pass as an input to condition the image generation, allowing for a lot more control. Compared to ControlNet, Depth2Img takes the lighting into account a lot more, which is quite amazing. But, it is a bit less flexible in terms of what models you can choose.
Example #
 Open Maya’s content browser and drag the space marine rifle into the scene. Assign a quick metallic shader to it (no need to get into details) and create a light. Depth2Img needs a proper color pass to work, because unlike controlNet it takes into account the lighting. Open Maya’s content browser and drag the space marine rifle into the scene. Assign a quick metallic shader to it (no need to get into details) and create a light. Depth2Img needs a proper color pass to work, because unlike controlNet it takes into account the lighting. |
Make a nice framing with Maya’s default camera.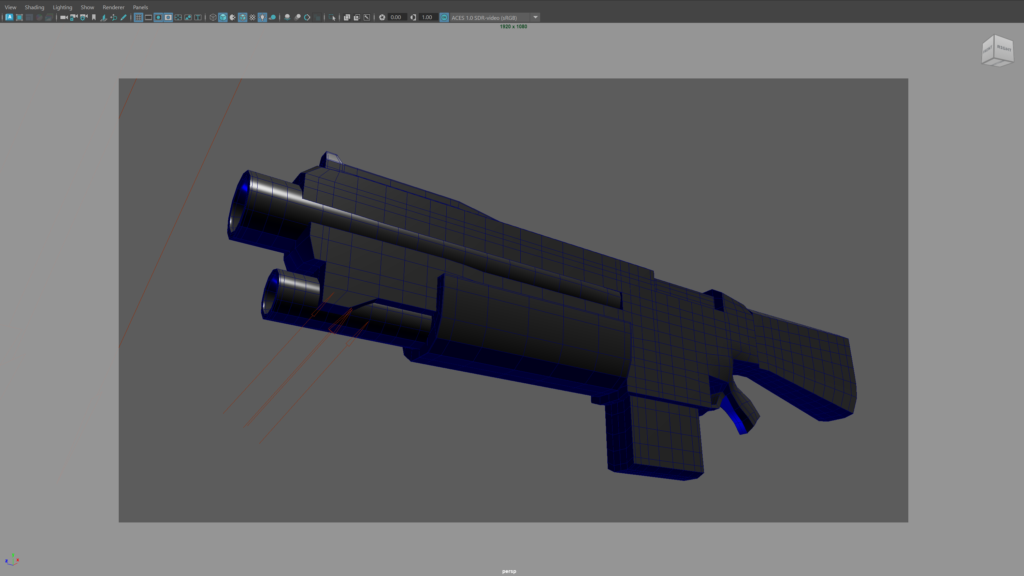 |
Now, open the image generation tab in Mandala’s UI and pick “depth2img” in the combo box. Set the resolution to 1920×1080 and set the upscaler to RealESRGAN. Also set the strength to 0.8. With less than that, Stable Diffusion might take too much input from the color pass. We want it to be a bit more creative.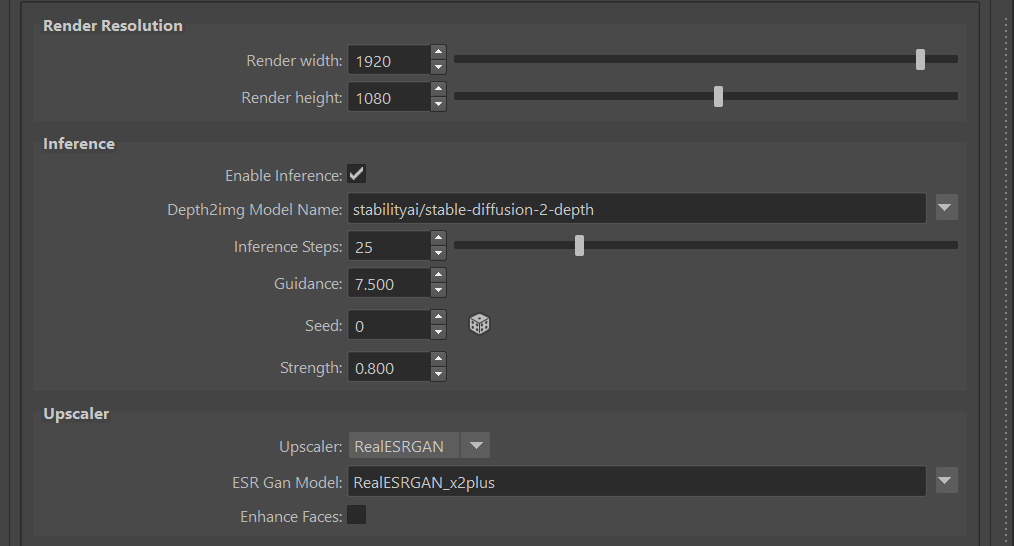 |
Type this prompt in the prompt editor:a space marine rifle, realistic, sci-fi, textured, warhammer 40000, star wars, octane render 4k, HDRI reflections, shiny metal, beveled edges, army camouflage |
| Finally, click on |
Hit 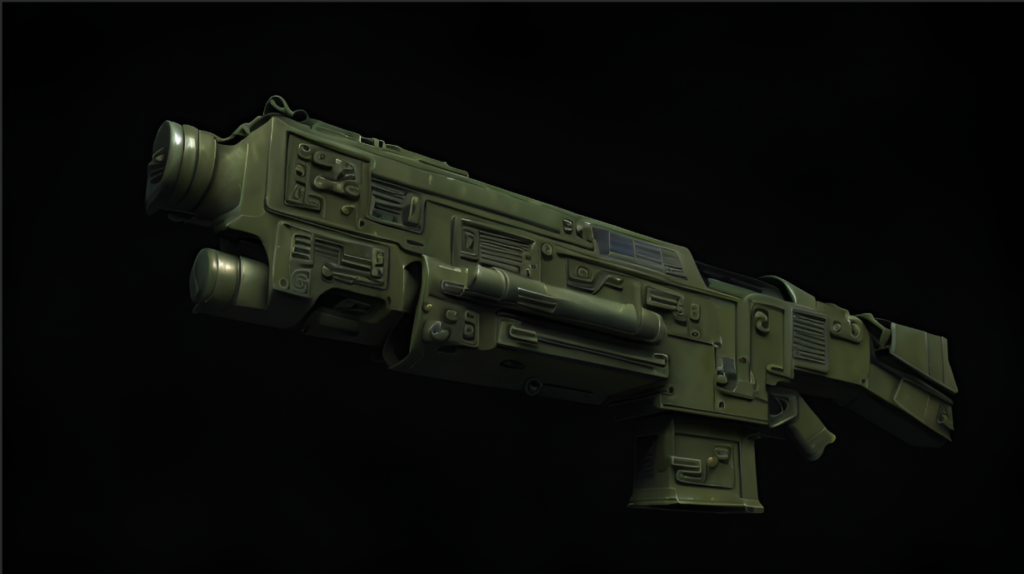 |
That’s okay, but it’s missing some sort of rim lighting. Let’s add a blue backlight in the scene, and re-render.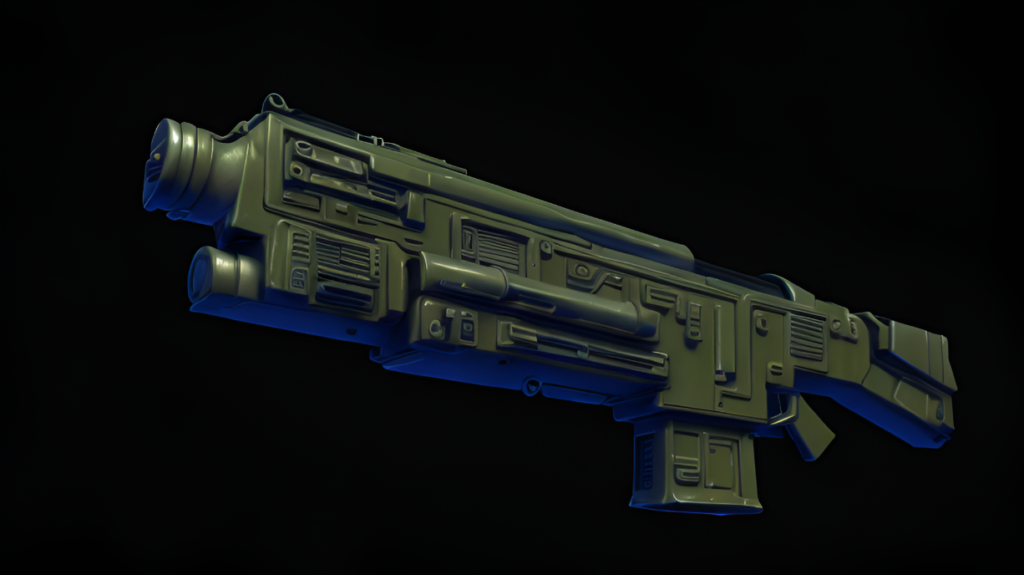 |
| Of course this is just a start, it would look better with basic textures and colors in the input. The point is, Depth2Img takes lighting into account! |
Parameters #
| depth2imgModelName: The depth2img checkpoint to use. |
| strength: The strength of the effect. Generally, values above 0.9 work the best. |
| minDepth: The minimum depth when converting the depth data to grayscale. You can compute these automatically using the ‘auto-depth’ button in the UI. Note that the algorithm will take the camera frustum into account and only calculate depth based on the visible mesh points! |
| maxDepth: The maximum depth when converting the depth data to grayscale. You can compute these automatically using ‘auto-depth’ in the UI. |
For the other parameters, refer to the diffusion page.


