Prompt Editor #
In the beginning, was the Word… Prompts are used to guide everything in Stable Diffusion. From image generation to inpainting, mastering the art of crafting prompts is crucial in AI image-making.
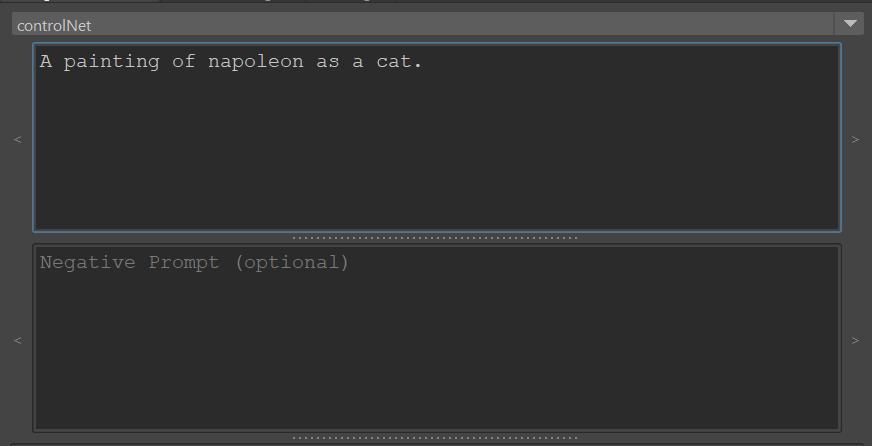
In Mandala, the same two prompt controls are used for every mode:
prompt: The prompt to guide the image generation. |
negativePrompt: The prompt not to guide the image generation. Ignored when not using guidance (i.e., ignored if guidance_scale is less than 1). |
There are two thin buttons on the left and right of each prompt edit box. This is the prompt history. You can go back to previous prompts in your session by clicking those. Additionally, you can use prompt presets:
Save a prompt preset: Right-click on the edit box and select “save preset”.
Restore a preset: Right-click + prompt presets …
Delete presets: You can also delete presets with the same system.
Model Manager #
Use the model manager to add and remove models with ease.
To add a model, click on “Add model from URL”. Enter the model ID. If it’s a HuggingFace model (that looks like <AUTHOR>/<NAME>, it will be downloaded automatically during inference. Otherwise, you need to specify an URL manually with the context menu / set URL. |
After adding a model, you must assign a category to it to use it. For example, assigning “diffusion” to a model will make it appear in the “modelName” combo box of the UI. Or if you want to add new controlNet models, add them and assign the “controlNet” category to them. |
You can also attach notes to models. The notes will be visible at the bottom of the page: |
In Mandala, all models are downloaded automatically and in the same folder. The folder is set as an environment variable named “HF_HOME” in Windows during the installation of the plugin. Your HuggingFace token is also kept there for convenience.
You can change that location later though: simply move the folder and change the “HF_HOME” environment variable accordingly.
Render View #
Inspired by the old Maya render view, it should feel familiar to any Maya user.
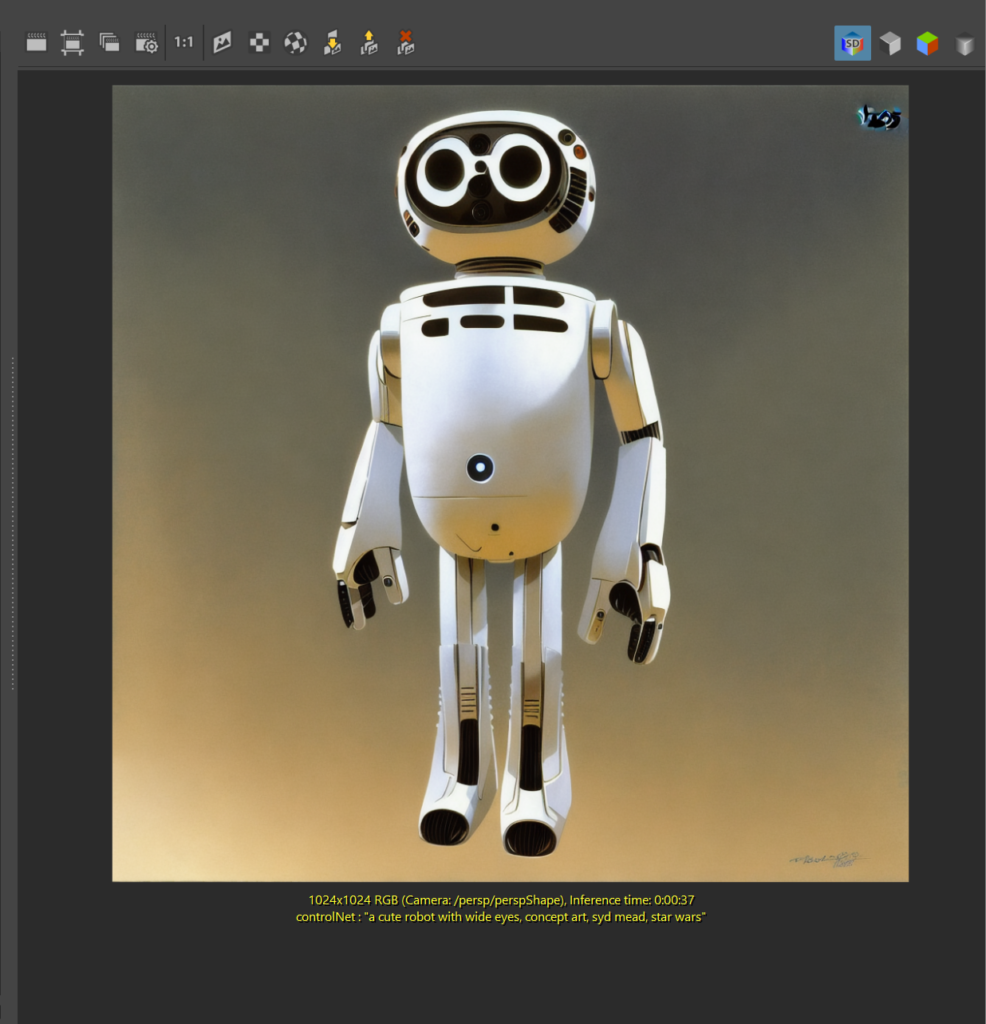
Toolbar #
Render Frame: Render with the current settings. |
Region Render: Inpaint the selected area (using the selected in-painting model) |
Render Sequence: Render the animation using the start/end frame and the output file name from Maya’s Render Globals. “Save Image” will be enabled automatically (otherwise, what’s the point) |
Render Globals: Open Maya’s render globals |
Reset View: Resets the zoom and re-centers the view. |
Create Image Plane: Create a simple Maya image plane. If a camera is selected, this function will attach the image plane to it. |
Create Texture: A shader will be created using the current image + the Normals pass (if any). The shader will also be assigned to the selected objects (useful in textureGen mode) |
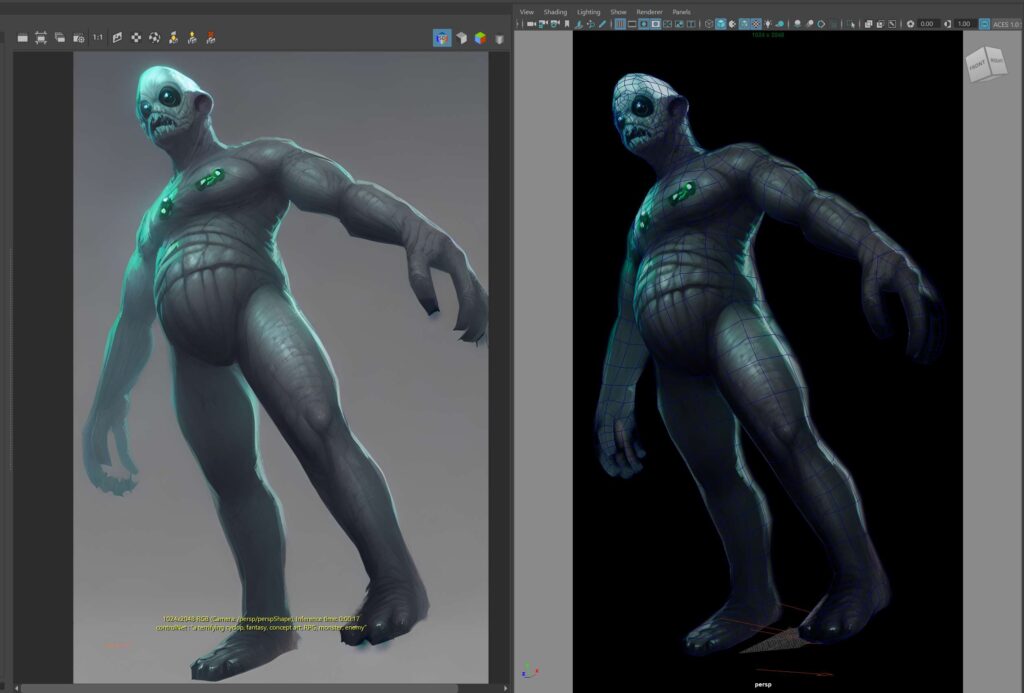
Camera-map: Works on the currently selected mesh object. This function will camera-map the current image on it, bake it on the selected object’s UVs, create a camera occlusion mask, and add a layer to a layered texture. The goal is to texture as an asset using different camera angles. Each subsequent baking operation will add a layer on top, with the appropriate mask. In the following example, a controlNet render of a troll is camera-mapped on the same model that has been used tas an input: |
Keep Image + Settings: Works just like the “Keep Image” function of Maya’s render view. It also stores the current settings in memory. |
Restore Image + Settings: Restores the currently selected image and make it current. The same is done to all its settings. |
Delete Image: Deletes the currently displayed image from memory. |
Passes #
Passes are automatically added when a render starts. Click on the pass icon to view it, for debugging purposes. Currently, no alpha is supported at all (because Stable Diffusion works in 3 RGB channels)
Output image |
RGB pass (always rendered, used as input by img2img and depth2img) |
Normals pass (controlNet) |
Depth pass (controlNet and depth2img) |
Sobel Edges pass (for use with controlNet) |
Canny Edges pass (controlNet) |
Hough Transform pass (controlNet) |
Openpose pass (controlNet) |
Menu Functions #
File #
Load PNG + Settings: Loads a PNG file and restore its settings (PNG can store JSon information as meta-data) |
Save PNG + Settings: Saves the currently displayed image along with its settings. |
Load Settings: Load JSon settings. This includes everything related to the plugin, not just inference information. |
Save Settings as: Save the current settings. |
Open Models Folder: Opens an explorer window to where all the models are stored. |
Export Model Manager Info as JSon: Exports all info on the models as a JSon file |
About: Opens an about box along with licensing information. |
Reset Plugin: Reloads the UI and delete all the images (but not the settings) |
Create #
Create Image Plane: Create a simple Maya image plane. If a camera is selected, this function will attach the image plane to it. |
Create Texture: A shader will be created using the current image + the Normals pass (if any). The shader will also be assigned to the selected objects (useful in textureGen mode) |
Camera-map on selected: Works on the currently selected mesh object. This function will camera-map the current image on it, bake it on the selected object’s UVs, create a camera occlusion mask, and add a layer to a layered texture. The goal is to texture as an asset using different camera angles. Each subsequent baking operation will add a layer on top, with the appropriate mask. |
View #
Reset Zoom: Resets the zoom and re-centers the view. |
Keep Image: Works just like the “Keep Image” function of Maya’s render view. It also stores the current settings in memory. |
Restore Image: Restores the currently selected image and make it current. The same is done to all its settings. |
Delete Image: Deletes the currently displayed image from memory. |
Delete All Image: Clears the memory and deletes all the stored images. |
Swap: Swap the UI panels. By default the render view is on the right. |
Render #
Render Frame: Render with the current settings. |
Region Render: Inpaint the selected area (using the selected in-painting model) |
Render Animation: Render the animation using the start/end frame and the output file name from Maya’s Render Globals. “Save Image” will be enabled automatically (otherwise, what’s the point) |
Render Globals: Open Maya’s render globals |