Skip to content
  • Front Page
  • Mandala
  • Kami
  • Downloads
  • Support
  • Privacy Policy
  • Front Page
  • Mandala
  • Kami
  • Downloads
  • Support
  • Privacy Policy

Mandala

11
  • Installation Guide
  • Mandala – Clean uninstall procedure
  • Getting Started
  • User Interface
  • Diffusion
  • Img2img
  • ControlNet
  • TextureGen
  • Depth2Img
  • Panorama
  • Settings

Kami

1
  • Kami
  • Home
  • Docs
  • Mandala
  • TextureGen
View Categories

TextureGen

1 min read

Basically the same as the diffusion mode, but generates tileable textures along with a normal map.

Example #

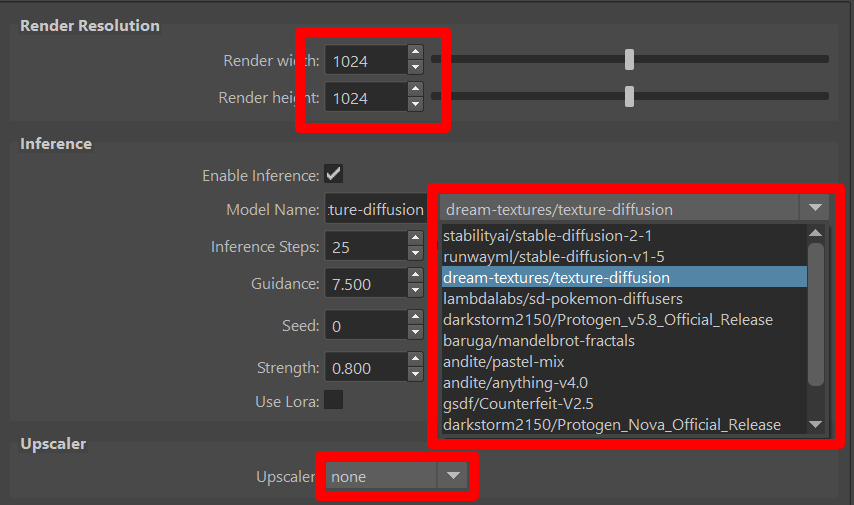
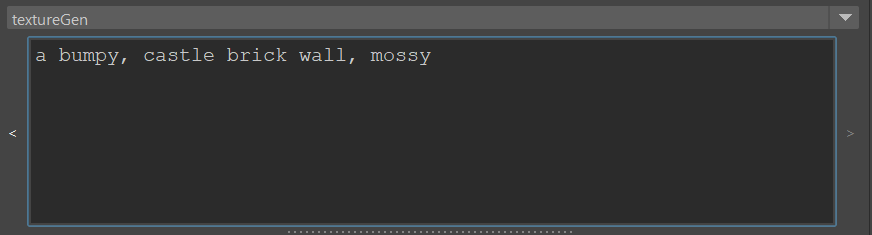
Let’s generate a brick wall with normals maps.

First, head to the model manager and add this Stable Diffusion model:
dream-textures/texture-diffusion


In the Image Generation panel, select textureGen in the drop-down menu, and then the model we’ve just added. Set the resolution to 1024×1024, and the upscaler to none:

Type this prompt: “a bumpy, castle brick wall, mossy“

Hit render. After a while, an image appears.

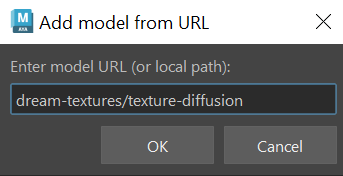
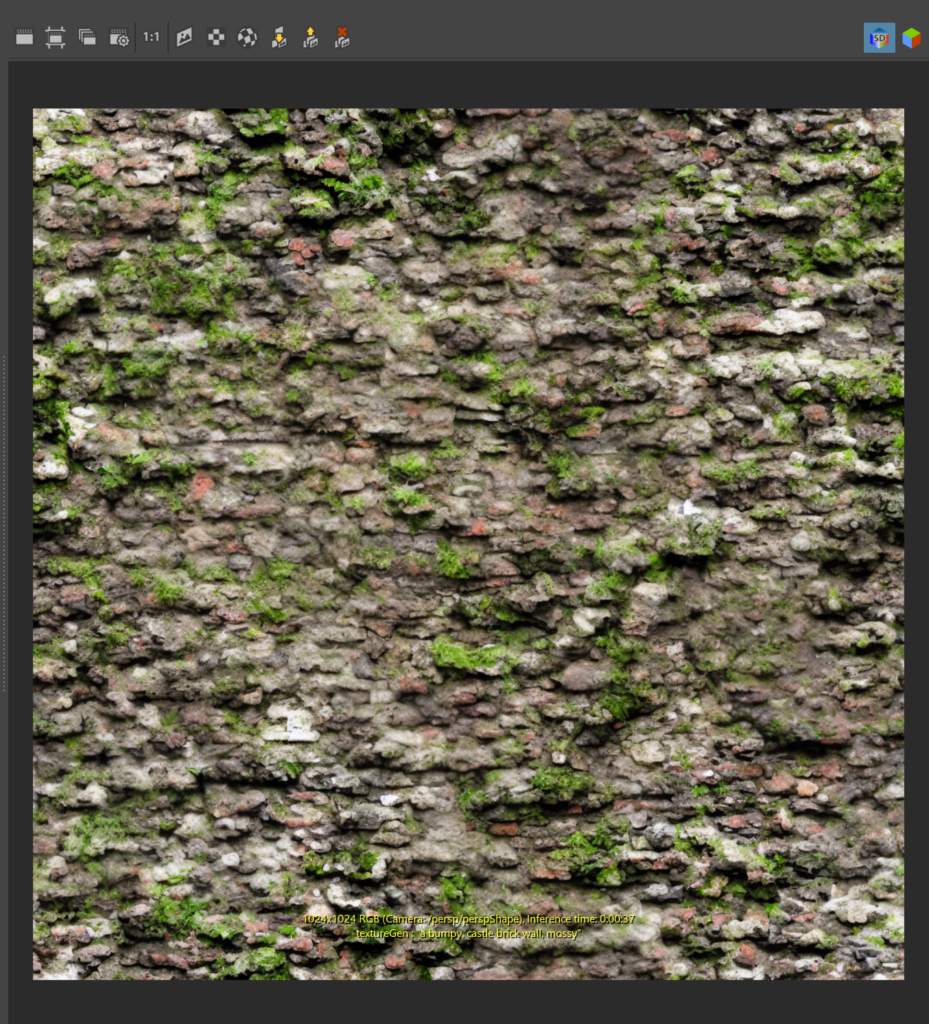
Try displaying the normals pass to see what the model has generated.

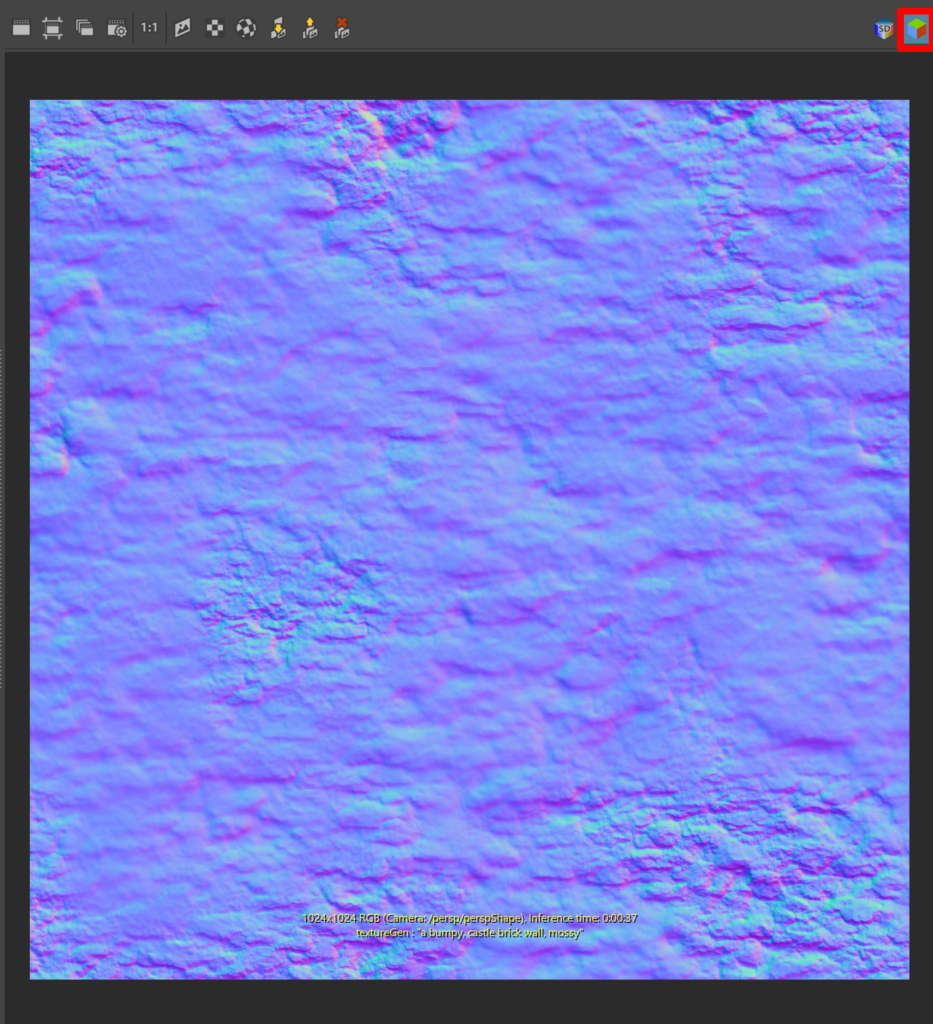
Optionally, you can create a shader that will have both RGB and normal textures attached. Click on the create texture icon. Save the image and open the hypershade. A new shader has been created.

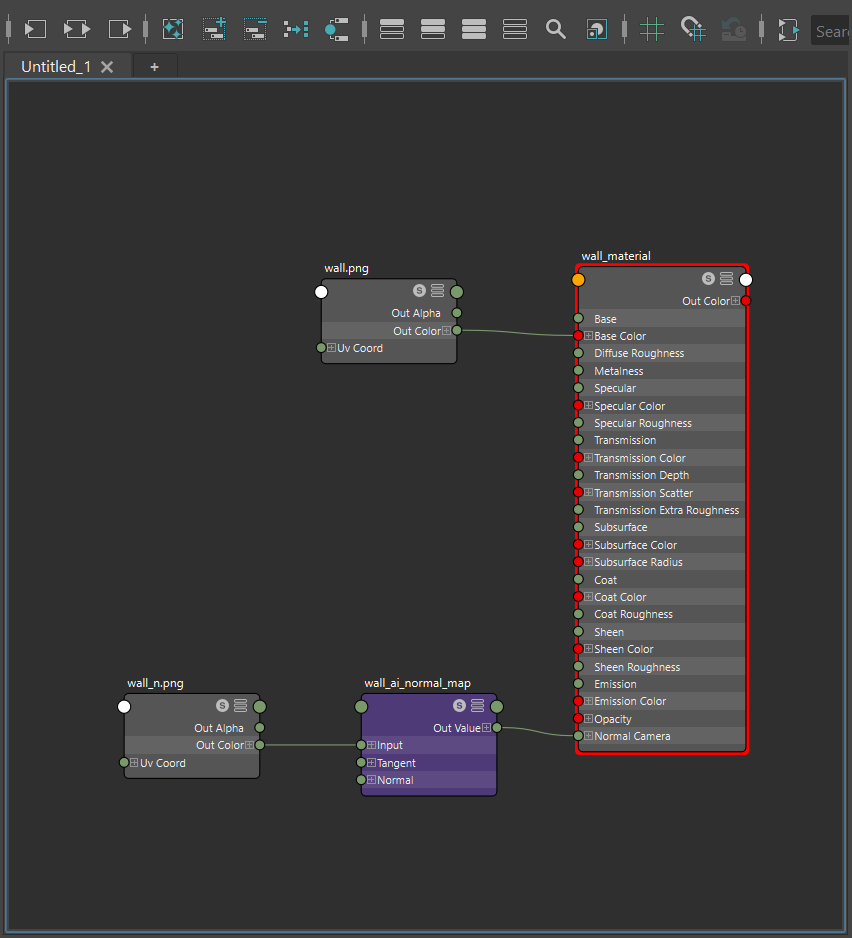
Try assigning the shader to an object and rendering it in Arnold. It should tile nicely!

Parameters #

Strength: Controls the blending of the inpainting phase (used when tiling the texture map)
generateNormals: Generate tangent-space normals for the texture. Will put the result in the ‘normals‘ pass. Uses DeepBump as described on https://github.com/HugoTini/DeepBump
normalGenerationModel: The id of the normal generation model.

For the other parameters, refer to the diffusion page.

What are your Feelings
Share This Article :
  • Facebook
  • X
  • LinkedIn
  • Pinterest
Table of Contents
  • Example
  • Parameters
© 2025 . Created for free using WordPress and Colibri